On this page
Install CrawlProtect
Unzip the downloaded file
The archive contains the CrawlProtect folder and its files.
Upload the folder
Upload the CrawlProtect folder to your website. You can change its name, but you should not do it once the htaccess file is created. Your CrawlProtect url will be www.yoursite.com/crawlprotect/.
Open the url and choose a language
Follow the instructions to proceed with the installation.
Create the htaccess file
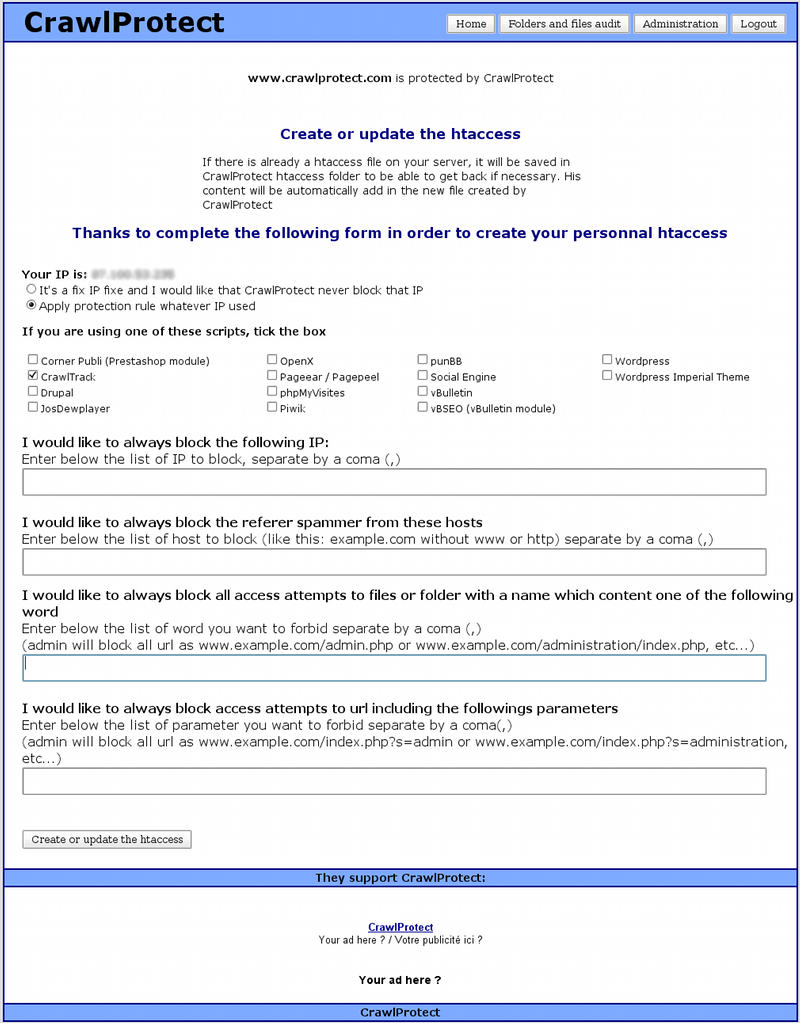
Once logged, go to the administration page to create your htaccess file. Choose the parameters according to your site information. Do not worry: if you already have an htaccess file, CrawlProtect grabs its content and includes it in the new file.
Add the php tag
Add the proposed php tag to your site pages. The integration guide gives the exact file for each script, and it works the same way as the CrawlTrack tag.
Set the permissions
You can change your folder and file permissions directly from the CrawlProtect interface. Just check that the site still works with the new values.
Test a blocked request
Visit an url such as http://www.yoursite.com/index.php?site=http://www.test.com, replacing yoursite.com with your own domain. You should be blocked.
Update a previous release
Unzip the downloaded file, then upload the new files in your CrawlProtect folder, taking care that your FTP software is set up to overwrite the existing files. Be careful also with the permission level of the files, and check that the transfer was successful.
Go to your CrawlProtect url and the upgrade process starts automatically. Once logged, go to the administration page and recreate your htaccess file to take advantage of the new features. That is all: CrawlProtect is updated and protecting your website.
Using CrawlProtect
CrawlProtect runs alone; you do not need to do anything after installation. If you want to know how many hacking attempts have been blocked, visit your CrawlProtect url, which is protected by a password.
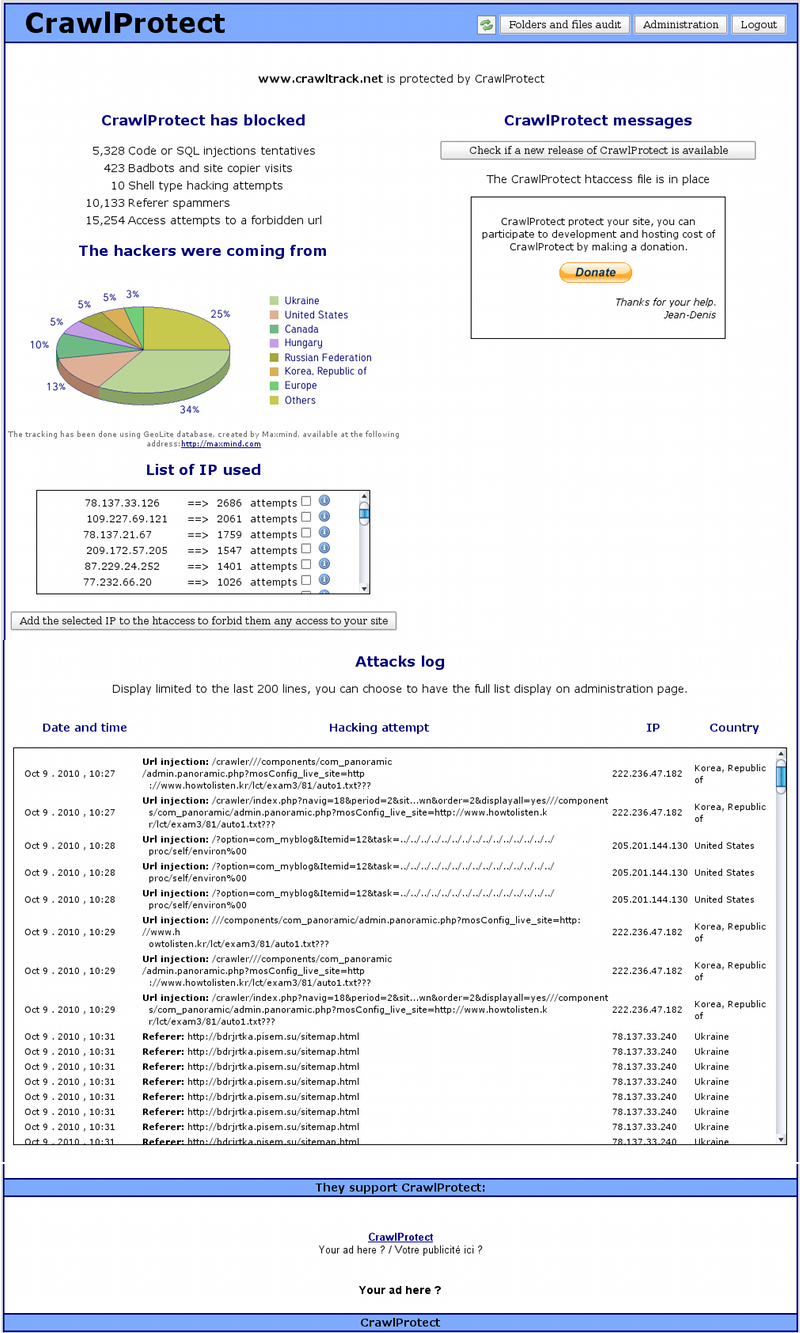
You will see how many hacking attempts have been blocked by CrawlProtect.
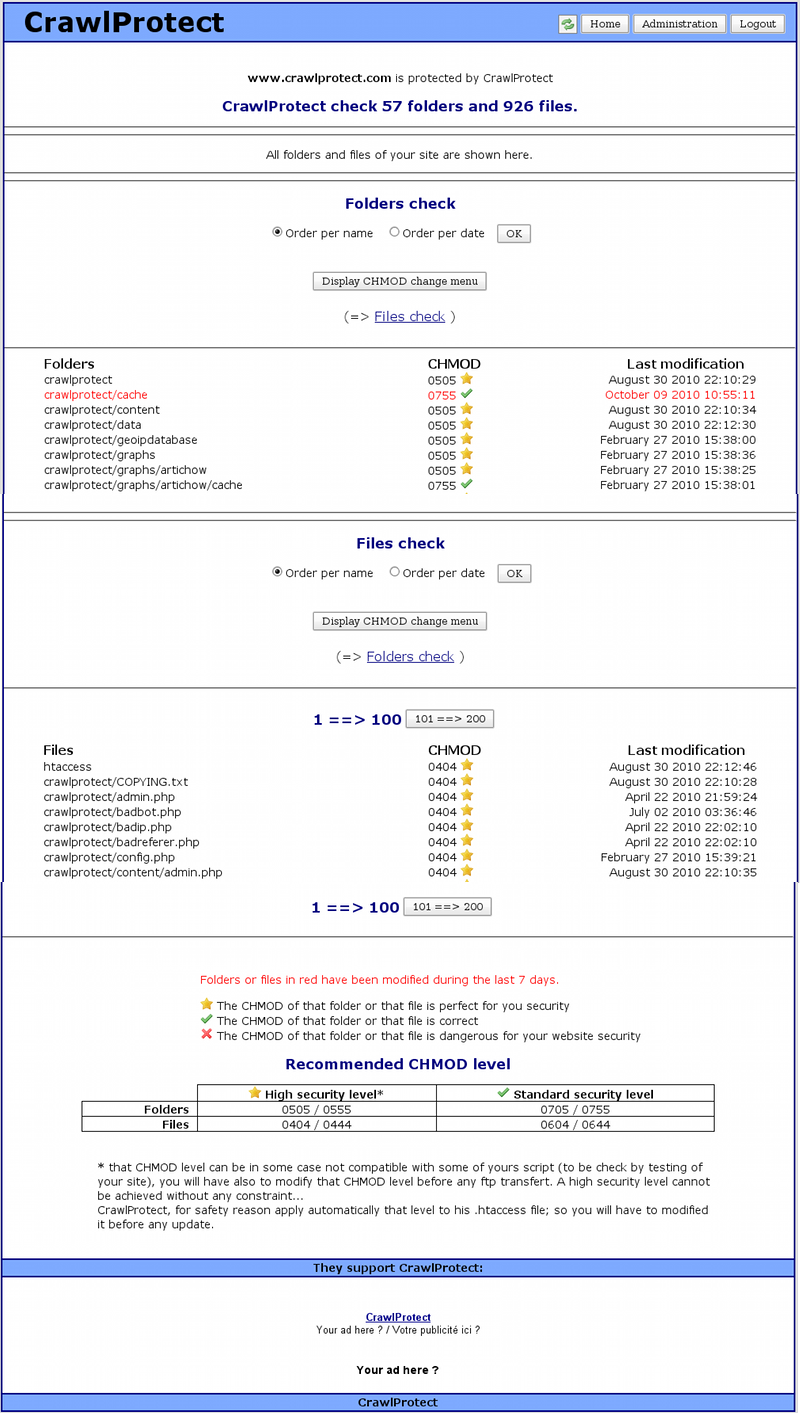
You will be able to check any file or folder modification and choose the best permission for your folders and files in a few clicks.
On the administration page you can change your CrawlProtect parameters.
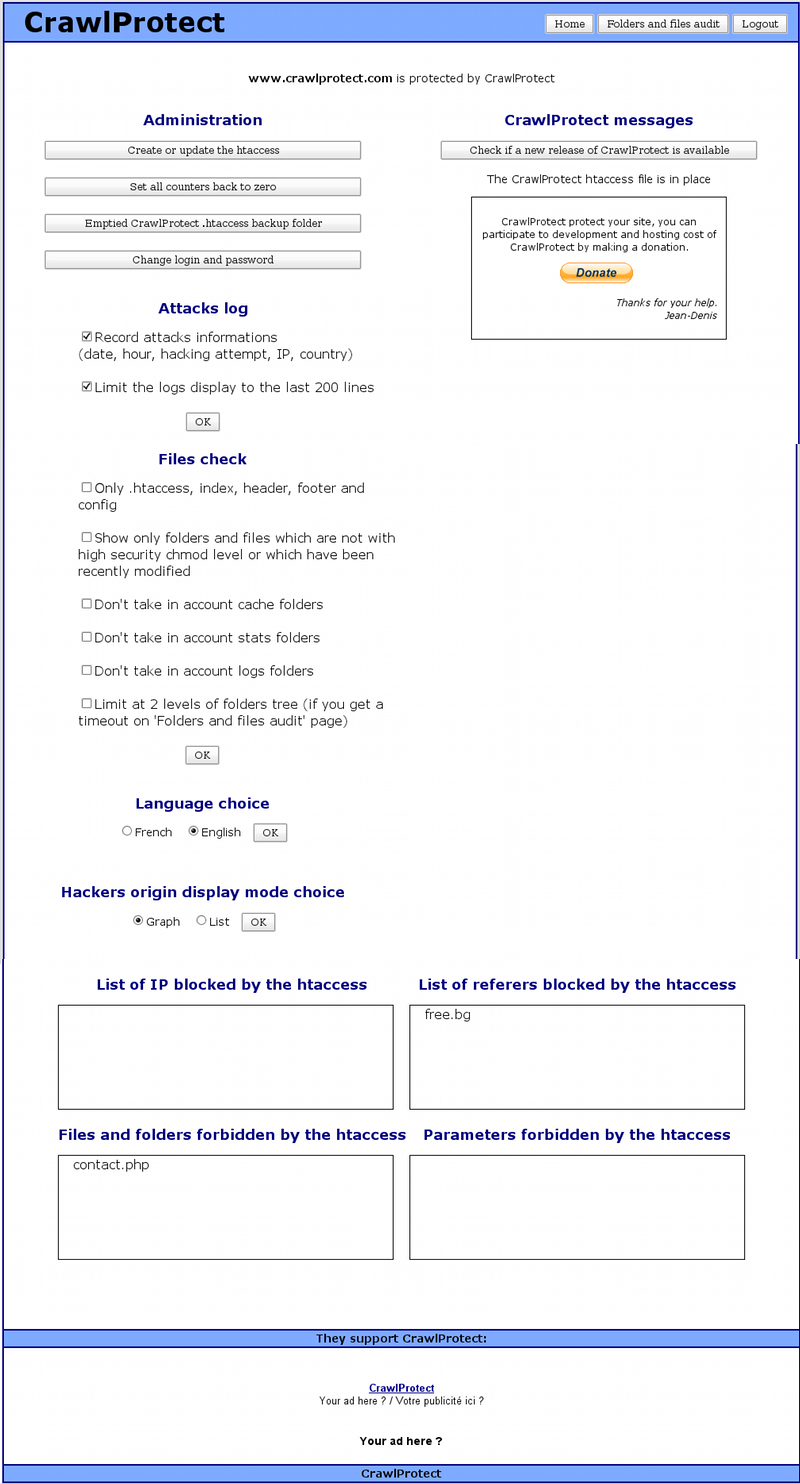
In a few clicks you can build your own htaccess file.
After the htaccess creation I get an error 500 on my site, what should I do?
Copy the file
With your FTP software, copy the htaccess created by CrawlProtect to your computer.
Change its permission
Set the permission of the htaccess created by CrawlProtect to 604.
Remove it
Suppress the htaccess created by CrawlProtect, then go to the CrawlProtect admin page and click on Suppress the CrawlProtect htaccess, and validate. Your site is back.
Ask for help
Contact CrawlProtect support and join a copy of the htaccess file that caused the issue.
Some site functions do not work as usual
Have a look at the CrawlProtect logs on the script homepage, take note of the blockage causes listed, then contact support with the url of your site and the detailed list of causes. Until the documentation is complete, that list is the fastest way to identify a rule that is too strict for your site.
The folder and file audit shows a blank page
The process that lists your folders and files uses a lot of resources, even more when the site contains many folders and files. A blank page usually means the script ran longer than the maximum authorised time and was killed by the server.
You have different solutions. If you have access to your php parameters, which is the case on a dedicated server but not on shared hosting, you can increase the value of max_execution_time in your php.ini until you find the right value.
If you cannot modify your php parameters, you can limit the number of folders and files to audit on the CrawlProtect admin page. You can audit only the htaccess, index, header, footer and config files, or only the folders and files that are not at a high security level or have not been modified recently, or limit the audit to two levels of the folder tree. By testing different options you will find the best setting for your site.
I am redirected to my site homepage
CrawlProtect checks the presence of its tag by displaying your site homepage in an invisible iframe, and it looks like you have a script that prevents the display of your site inside an iframe. You have two solutions.
Remove that script for the time of the CrawlProtect installation and the tag presence check. Or modify CrawlProtect by replacing the header.php file in the include folder with the alternative file offered on the CrawlProtect download page. The tag presence check then needs you to visit your site once the alternative file is in place, so the validation cookie is created.
Server references
Sources and further reading outside this site. They are listed for reference and open in a new context.
- Apache htaccess guide the file behind most protections
- PHP max execution time the setting that fixes the blank audit page
- Apache error 500 what the error means
- Suhosin hardening extension mentioned in the changelog
- X Frame Options the iframe issue explained
- htaccess files background on the file
- PHP configuration where to change limits
- CrawlProtect support board the support board